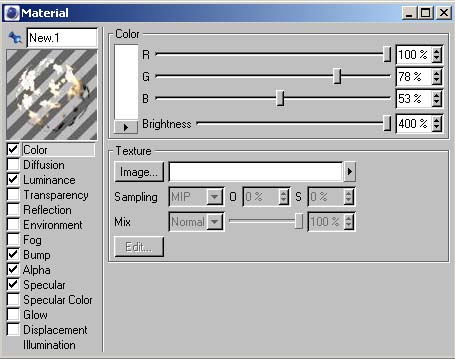
| COLOR As usuall the setting depend on the scene. In this case I used a high value for color. |
 |
|
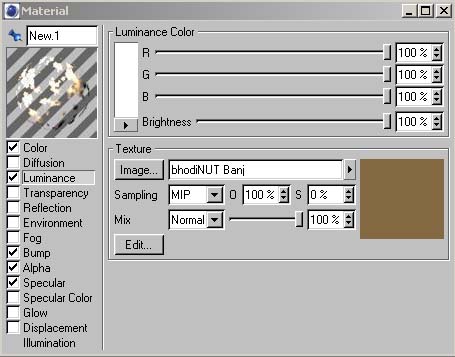
| LUMINANCE Luminace is used with a color brightness of 100% as well as a texture brightness of 100% for Banj |
 |
|
| Here the Banj values are more average with a lower
shadow intensity. As you probably noticed there was no trancparency used. This was done because the cloud should get a more solid look. Because of the not used transparency the color channel had to get a high value, as well as the Luminace parameters. |
 |
|
| BUMP To get a more structured cloud I used a bump map in this case. Because I didn't wanted a homogenous bump, I used a combination of a gradient and a noise. For that reason the Fusion shader was used. |
 |
|
| Here are the Fusion settings. | 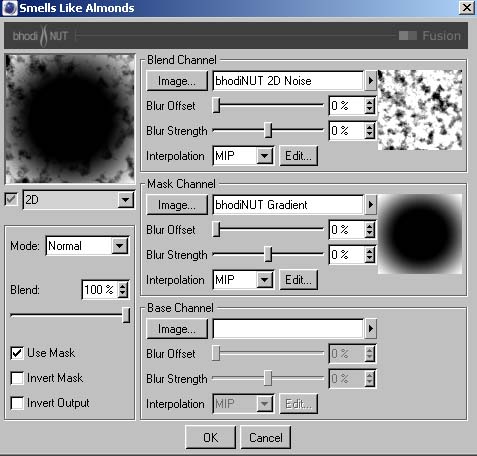 |
|
| The Noise settings | 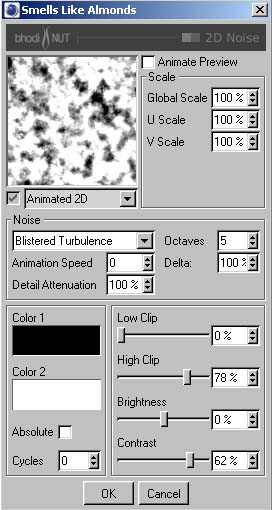 |
|
| And the Gradient settings. | 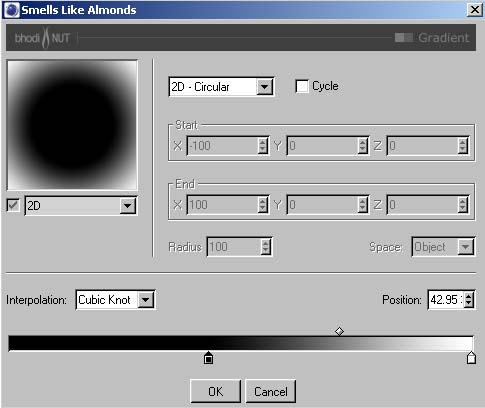 |
|
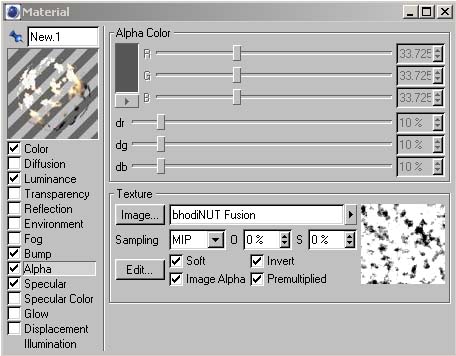
| ALPHA This will be a little bit more work now. Easy looking things are sometimes complicated. So, first, Fusion was used the produce the clouds. |
 |
|
| If you throw an eye on the dialog you will see that a
2D Noise was used and two Gradients. The 2D Noise was
used because in former times Fusion didn't work with 3D
Noise. That has changed, but the material still is a
little bit older, so you may change that. The two
gradients were used to 'Clip' the clouds. If you turn of
the mask option and render the picture again you will see
a lot more clouds at the horizon. Doesn't look good? Now
you the reason. BTW: May be someone gets the idea to combine it with other stuff? What about Proximal with clouds? or the Projector? :)) |
 |
|
| The Noise parameters that were used | 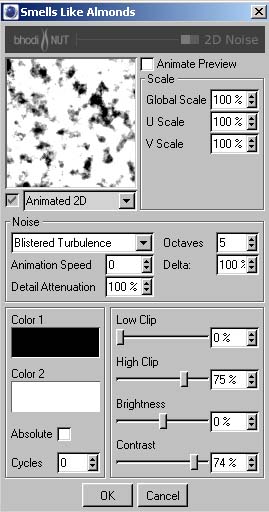 |
|
| The Gradient used for masking | 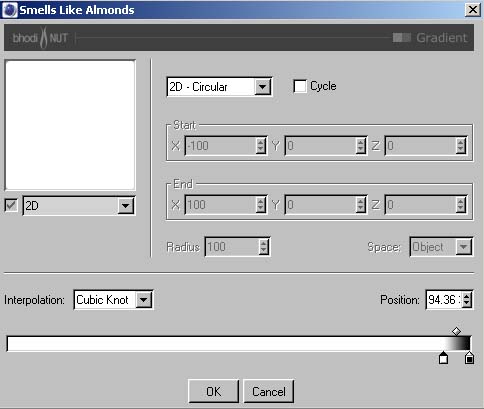 |
|
| And the gradient used for fusion. | 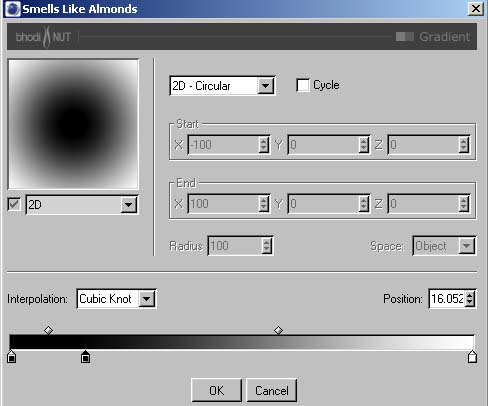 |
|
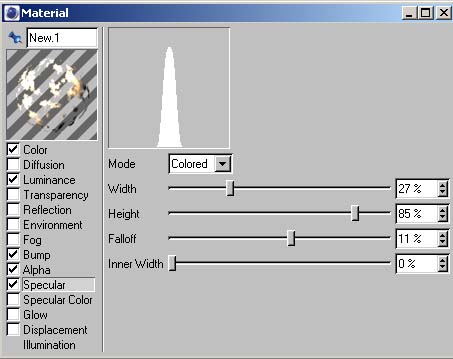
| SPECULAR The last setting and you are done. In most cases I don't use specular on cloud. But in some I do. In this case I wanted to get a higher brightness or lightrefection for the clouds the face the sun. |
 |
|